Winter is here, and in the Netherlands that means one thing... instant bike destruction.
If you've ever ridden a bike for even a moment in the wet winters of the Netherlands, you'd know how sandy a bike can get. Throw into the mix a few long training hours or a group ride or two, and your bike may be more sandcastle than bike.
By now you've probable already heard plenty about power-washing your bike, or you've already done it enough to have a few experiences yourself. This can be an important tool for keeping your bike running well.
We here at the Parallel Handbuilt Bike-Cleaning Division strongly endorse power washing. But, there are some caveats... read on to learn what is going to make your bike clean, and what is just going to void your warranty on everything.
1. Not all car washes are created equal
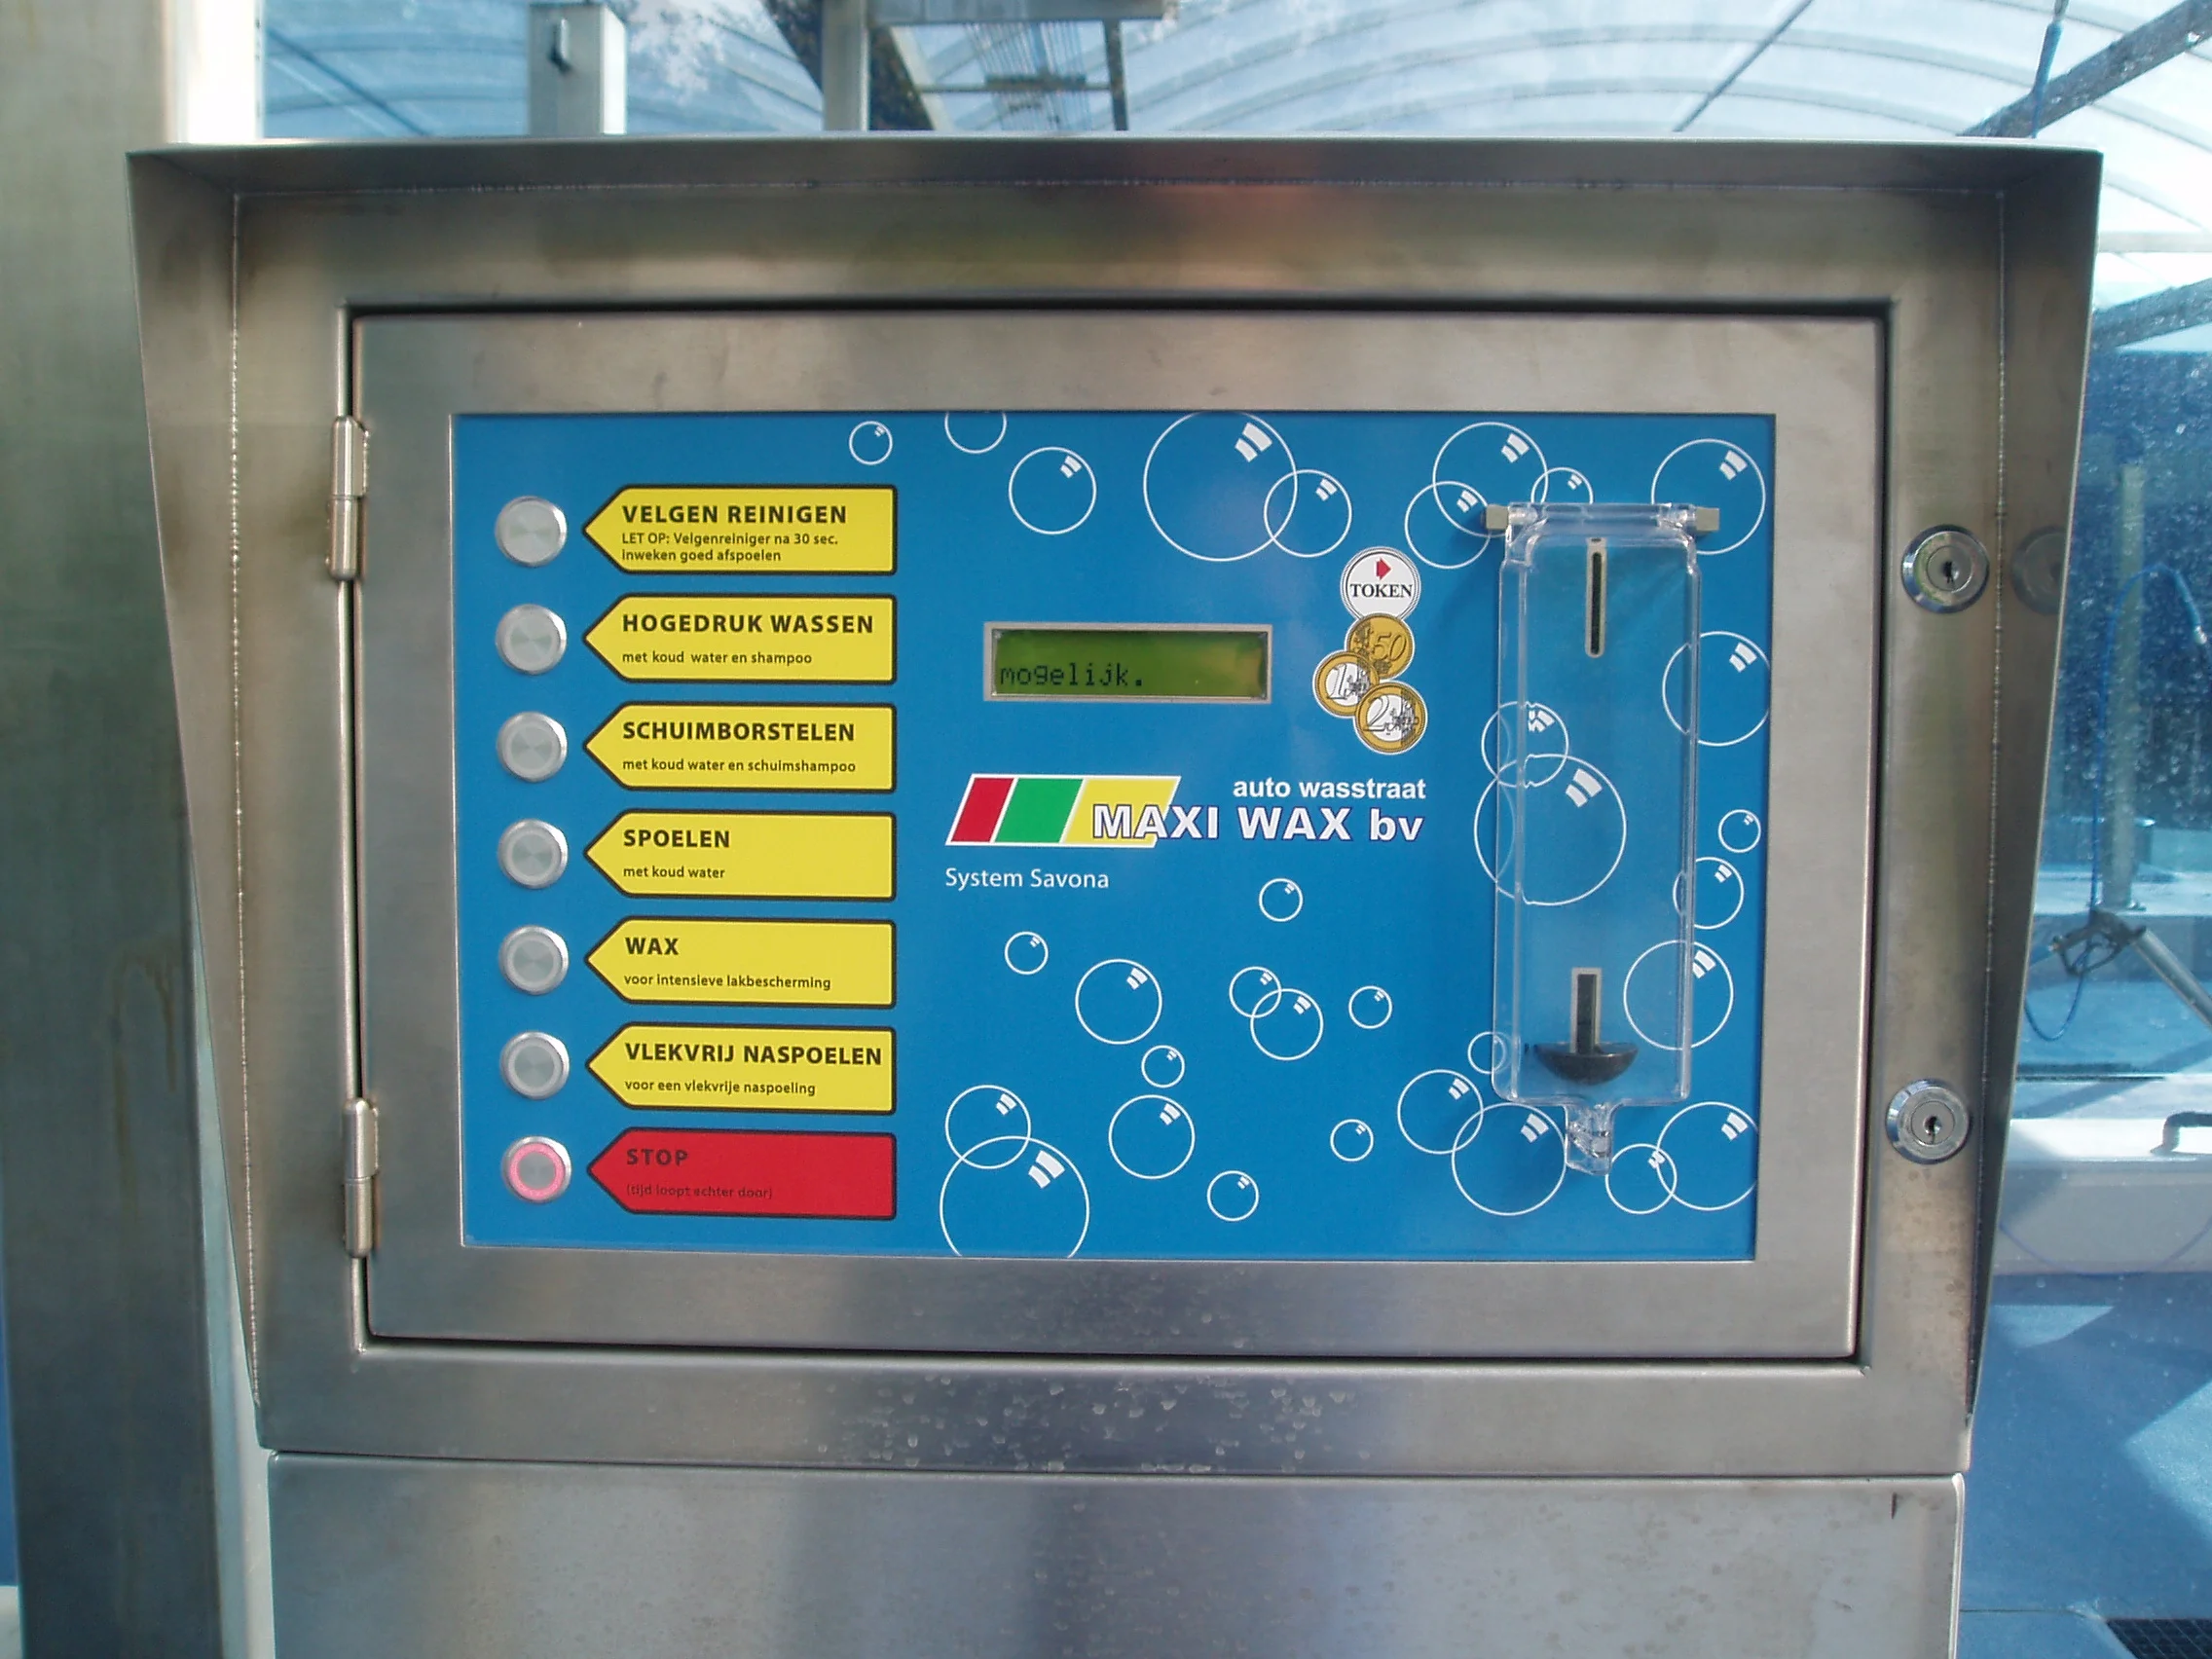
Find a good one. Take your time and ask around where they are and plan it into your route. What you're looking for is simple. In the photo below you'll see a few usable options. Schuimborstelen (shampoo brush) and vlekvrij naspoelen (spot free rinse) are the two options you're looking for. The shampoo brush will clean up brake dust and other nasty stuff while the spot-free rinse will shoot a low(er) pressure, filtered water to clean it all up. Bonus: occasionally the car wash automatically sprays even without squeezing the handle at an even lower pressure, do this if possible. Why are these options ideal? Read on.
2. Low pressure: good. High pressure: expensive
Anyone reading this has likely seen the GCN video demonstrating that power washing a bike is reasonably safe and that you can just blast your bottom bracket to oblivion without consequence. As someone essentially power washes bikes for a living, I can attest that this isn't the case.
In the last step, you ran about town like a crazy person looking for the one car wash with the extra-low pressure option. Why? Because high pressure only increasing the chance of not only water ingress, but also pushing sand and other contaminants into a bearing or fitting. Pushing water and sand into a bearing will tear apart your bike from the inside-out, and mean costly repairs if not quickly taken care of. With the next step you'll learn a little bit of technique to put the low pressure to good use.
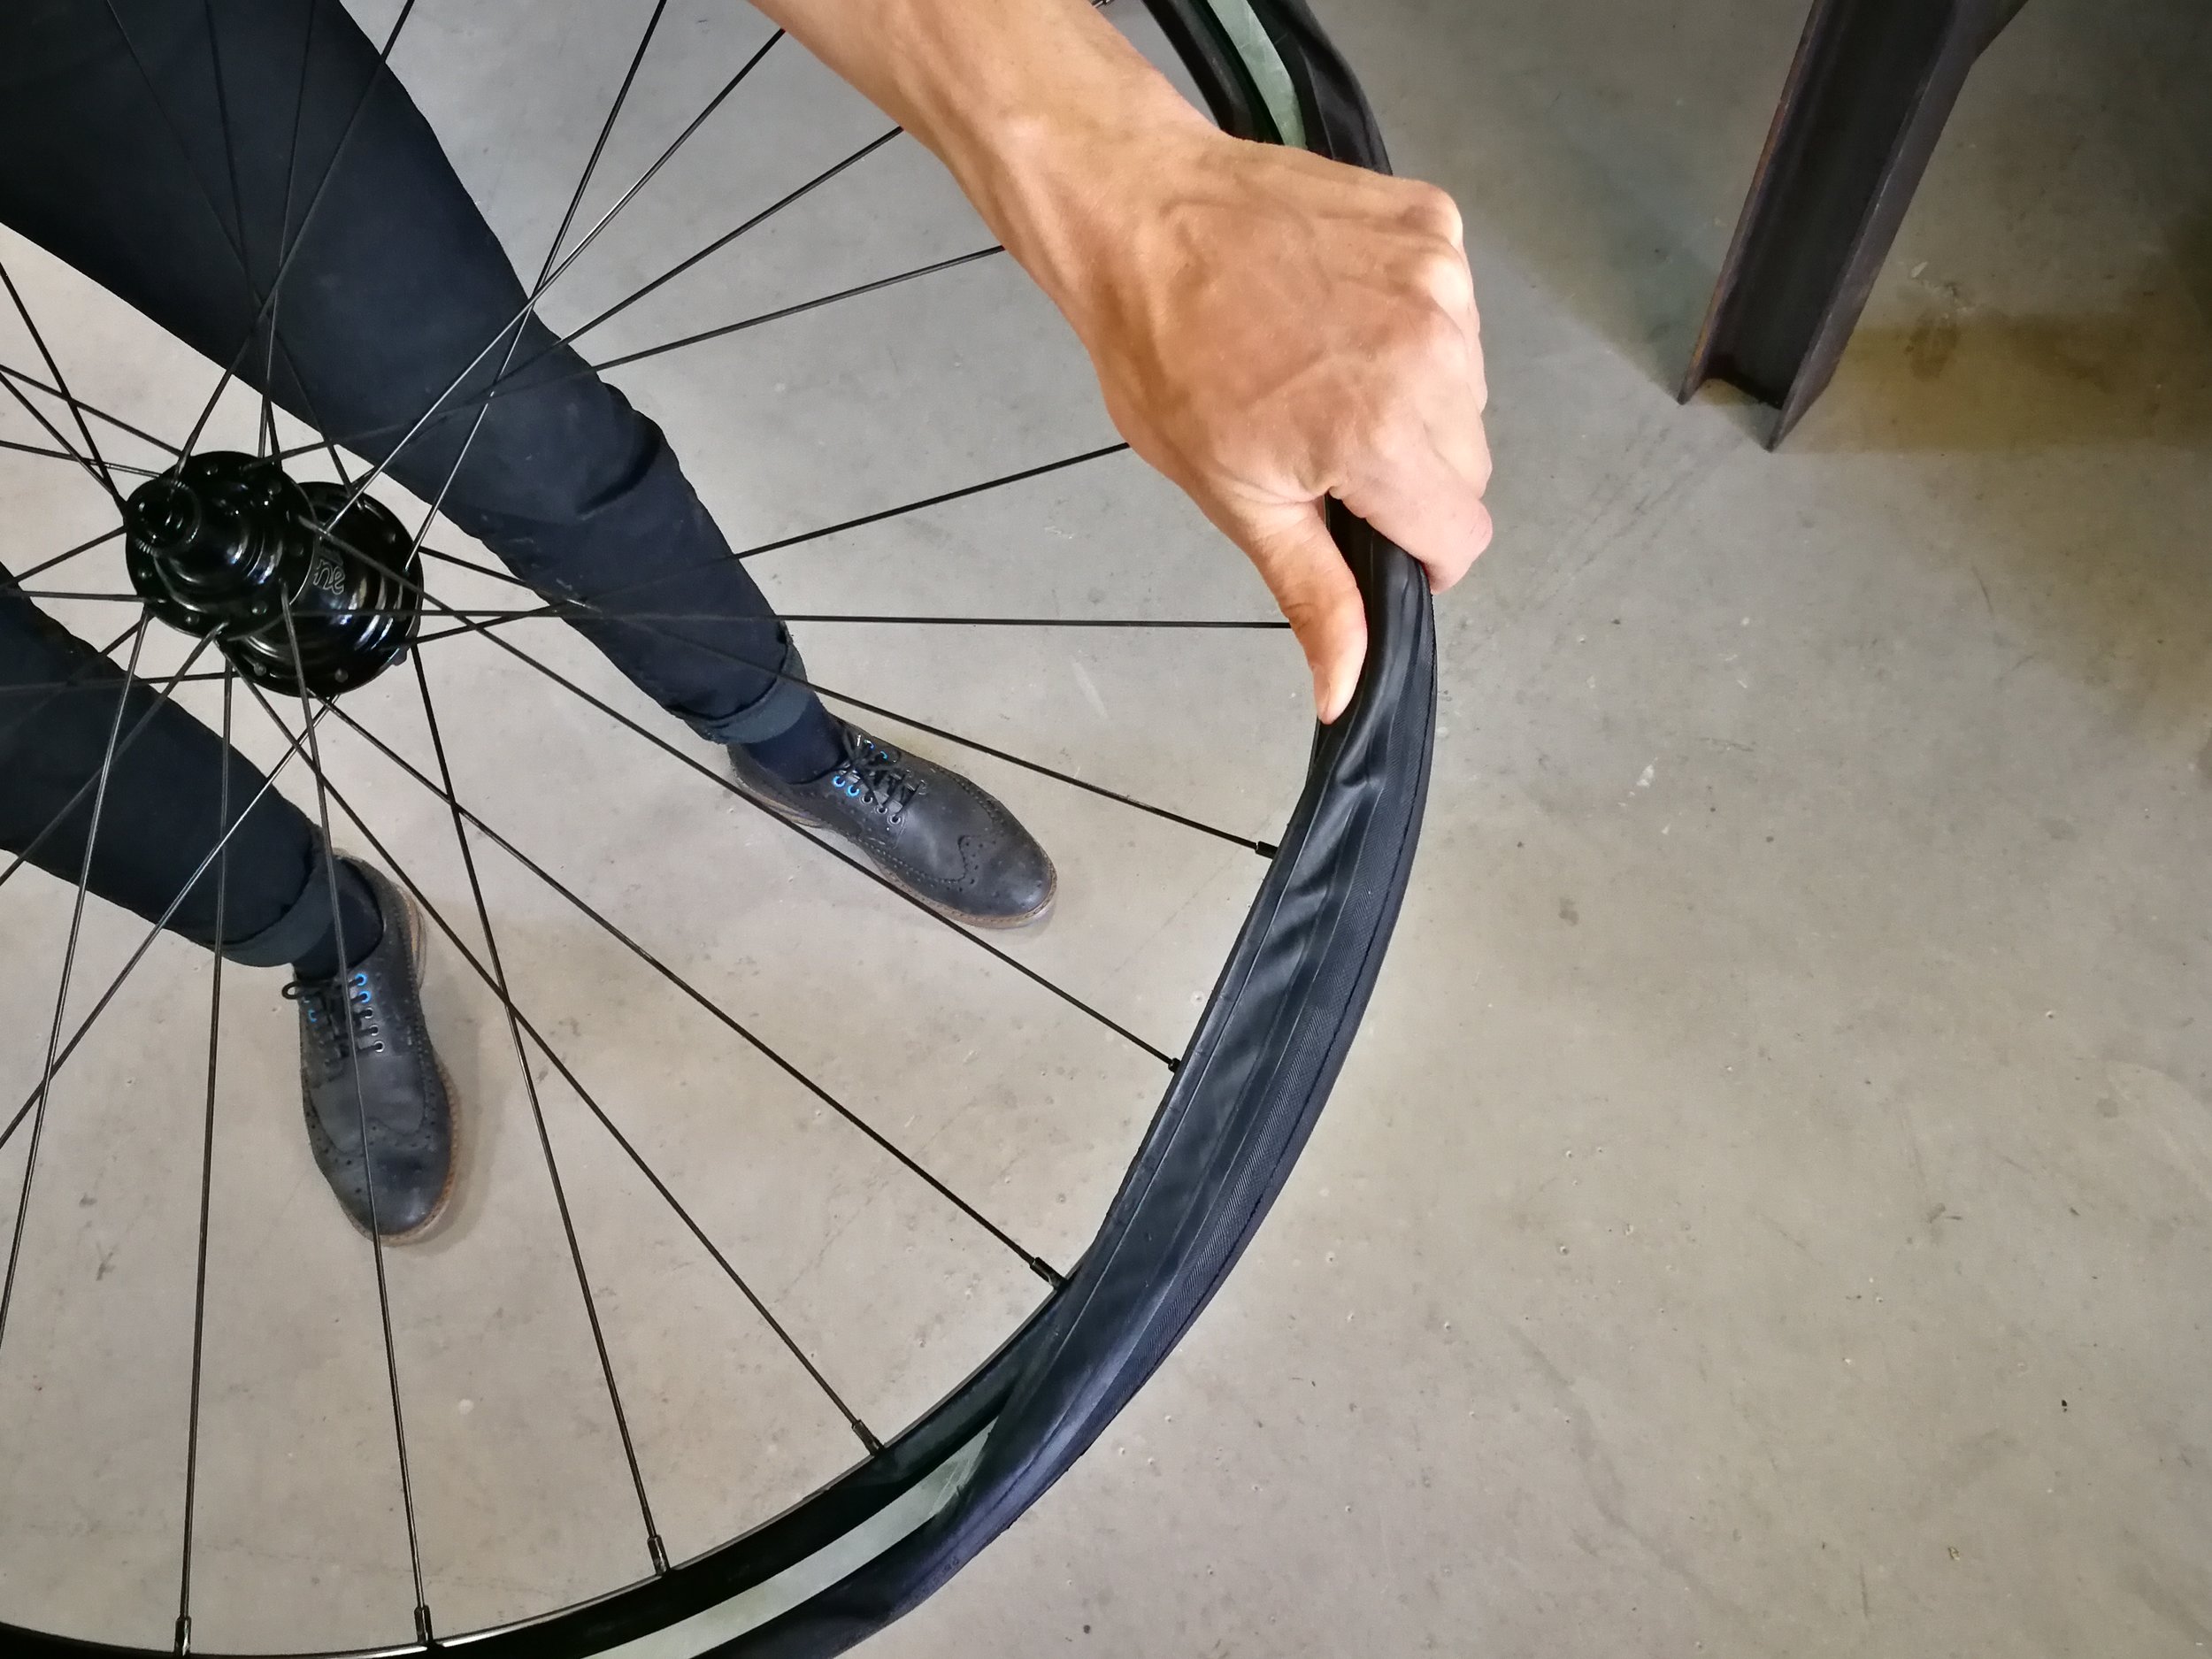
3. The floor is lava, and so are you hubs, headset, and bottom bracket.
Bottom brackets have a pretty shit job. They spend all day hanging out directly in the line of fire from your front wheel, all while dealing with the massive loads you produce while pedaling... why would you make life even harder for you bearings and seals by spraying highly pressurised water at it? Remember all the way back in step 1. when you found that car wash with the shampoo brush? Now is its time to shine.
Clearing all the sand and mud from your bracket, if you can, before spraying can help decrease the chances of pushing a couple grains into the bearings or between the crank arm and bearing. Same goes for your headset and and hubs. Always avoid spraying these points if you can (better to do at home with a sponge), but if you really need to, make sure to always avoid spraying at an angle where water is pointed 90 degrees from you seals.
Bonus: WD-40 is not what you think it is, and has no place on a bike. Ever. Like really, never ever.

Spraying at an angle attacks the seals at the their weakest point.
4. Now I'm home, my bike is wet, and my partner is super mad that there's water all over the floor. What do I do now?
Congrats! Your bike is clean! You've blasted all the mud, sand, oil, and grease off of your bike! Now it's time to put all of the grease and oil back!
Oil can push out water from small places, and grease is needed to ensure proper movement. Shifters, brackets, chain, derailleur wheels, brake and derailleur pivots, headset lowers, seatpost, and pedals are all points that need attention after a spray wash. Not sure what grease or oil goes where? Come into the shop and ask. It's different for every type of bike and I'm way too passionate to write a short article about lubricants. I will mention, but not go into, the fact that yes, you can blow water out of most places with compressed air, but seeing as most us don't have an air compressor and blower tup at home, and that you can actually do a lot of damage with this technique, we'll leave this on the side for now.
Pro Tip: If you've got a the resources and time, open up the bike every week or so. Don't go crazy with it, but especially if you have a steel frame, occasionally pulling your seatpost, crank, or fork can be helpful to dry out the frame. Setting the bike upside down or balanced on it's rear wheel can also encourage water to exit the frame through breather holes.

Inhale... Exhale... Now find this sort of hole on your frame/fork!
5. Bring it to a mechanic
Okay, now you've gone a entire winter or cyclocross season with your bike. You've always sprayed with low(er) pressure, you've paid attention to how and where you spray, and the moment you got home you've always thrown a liter of oil at your bike... yet somehow everything still feels a little "raw". Well, I've got some bad news, unless you are riding with some sort of magic bearings and a chain forged by Vulcan himself (or C-Bear cyclocross bearings, available at Parallel), a long, salty Dutch winter is going to destroy most things on your bike and repairing them in the correct manner dictates how long the larger component is going to last. Installing a headset bearing with too little or too much grease will accelerate frame wear, installing a hub bearing incorrectly can do severe damage right away, installing a chain with unevenly worn chainrings or cassette will result in poor shifting and chain suck, and in the era of disc brakes, the importance and difficulty of maintaining a hydraulic or mechanical disc brake system has grown significantly... when was the last time you refreshed the oil in your hydros? Find a good mechanic you trust, be honest with your maintenance schedule and riding conditions and you are going to be pretty excited with how your bike rides in the spring.

You may laugh, but come March your bottom bracket will probably look pretty similar if it hasn't been serviced.
Here's a quick list of products Parallel uses to help fight the battle that is winter cycling. All are in stock and available at Parallel Handbuilt, Vijverhofstraat 122, Rotterdam.
Juice Lubes Bearing Juice. Waterproof lithium complex grease
Phil Wood Waterproof Grease. Highest quality bicycle grease available
Boeshield T-9. Paraffin/solvent based anti-corrosion lubricant
Tri-Flow Superior Lubricant. High penetration petrol-based lubricant
Molybdenum Disulfide lubricants such as LOCTITE Moly Dry.
C-Bear CX seal bottom brackets and hub bearings
SRAM SlickWire cables