Next to the holy question "What tire pressure are you running?", I would have to say that the pseudo-question "My tires are so tight, I can get them on or off" is the most common remark at Parallel HQ. Let's, real quick, dive into why that is...
If you're here, you're probably already familiar with tubeless tires, at least on the surface. There are of course a few different types of tubeless, including a special one from some old-fashioned French wheel "manufacturer", but I'm not going to go into that here. This is pure, general instructions on how to not suffer through having tubeless tires and rims.
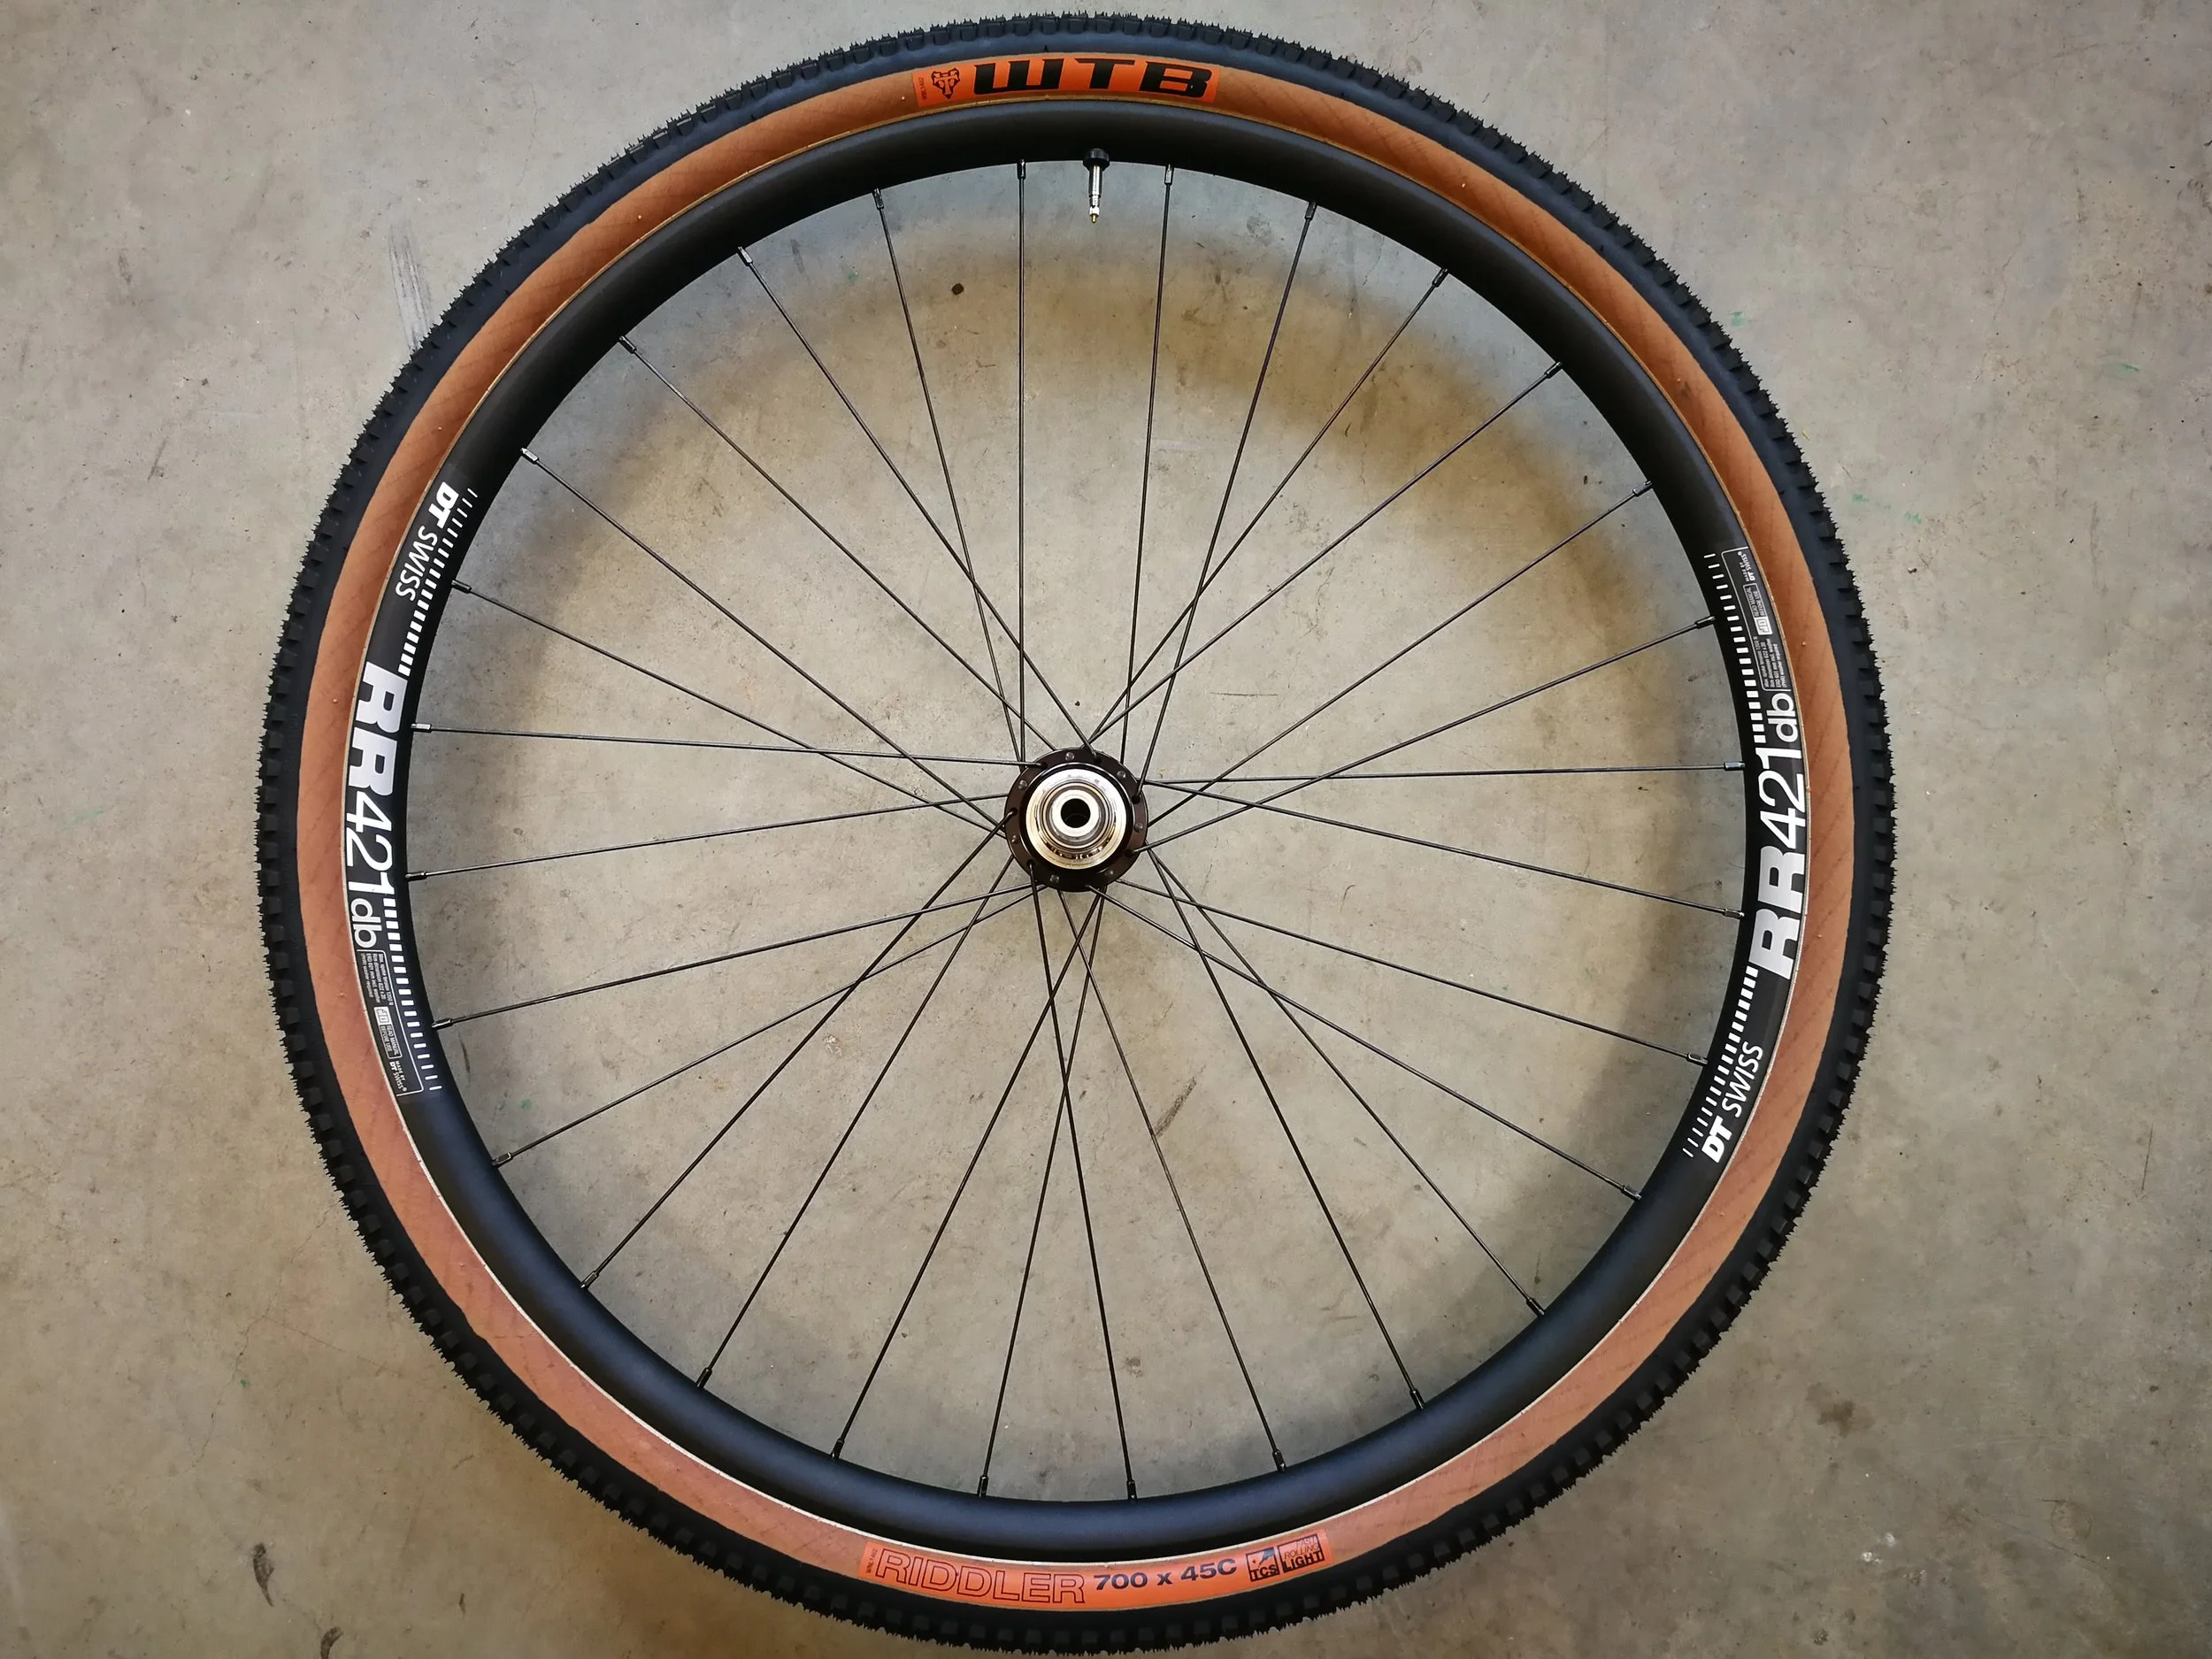
Chances are, you are riding on "tubeless ready" rims already. But what does that mean actually? In short, that means that your rims have a sort of ledge on both sides on the rim bed (where your tire sits), and a valley in the middle. It is this valley where the magic happens, because those ledges are actually a slightly larger diameter than your tires.* Older rims and non-tubeless rim will not have this, so it doesn't matter where or how you put the tire on because there is little to no valley in the rim bed. A quick note to tie this into tubeless tires. Tubeless tires are designed, like tubeless rims, to be a very tight tolerance, this means that if a tubeless rim is made at a slightly larger diameter, a matching tire will be a little smaller diameter so it fits airtight.**
*Sort of. This is the idea at least.
**Again, rule of thumb.

You may have noticed that all wheels from Parallel Handbuilt come with tubeless tape, that classic yellow or blue tape. If the rim is tubeless compatible this means two things: one, you will be able too get your tires on and off even more easily (this tape is very thin), and two, if you chose to step over to tubeless tires in the future you are all ready to go... just throw in a valve and go!
Ok great. Now you know that tubeless tape is super cool and you have a picture of what makes a tubeless rims and tires different... but how the hell do you get the tire on? This is where that valley comes into use. Scroll on through the photos, we can meet after those for a debrief.

Make sure the first bead is sitting nicely in the valley.

Feed your tube in. Skip this step if going tubeless (setting tubeless up is not covered here).
Begin pushing the second bead onto the rim using one hand to guide the tube into place and the second hand to guide the bead. Work from the valve towards the opposite side of the rim.
Making sure the valve is pushed up into the tire, begin guiding the second bead into the valley of the rim. Here is the trick, if you guide the bead into the valley without "trapping" it there, it will just pop out immediately without you even noticing. So! Make sure to hold as much tension as you can on the second bead of the tire while doing this. If you are doing it correctly, you will feel slack on the bead every time you push a new section of bead into the valley.
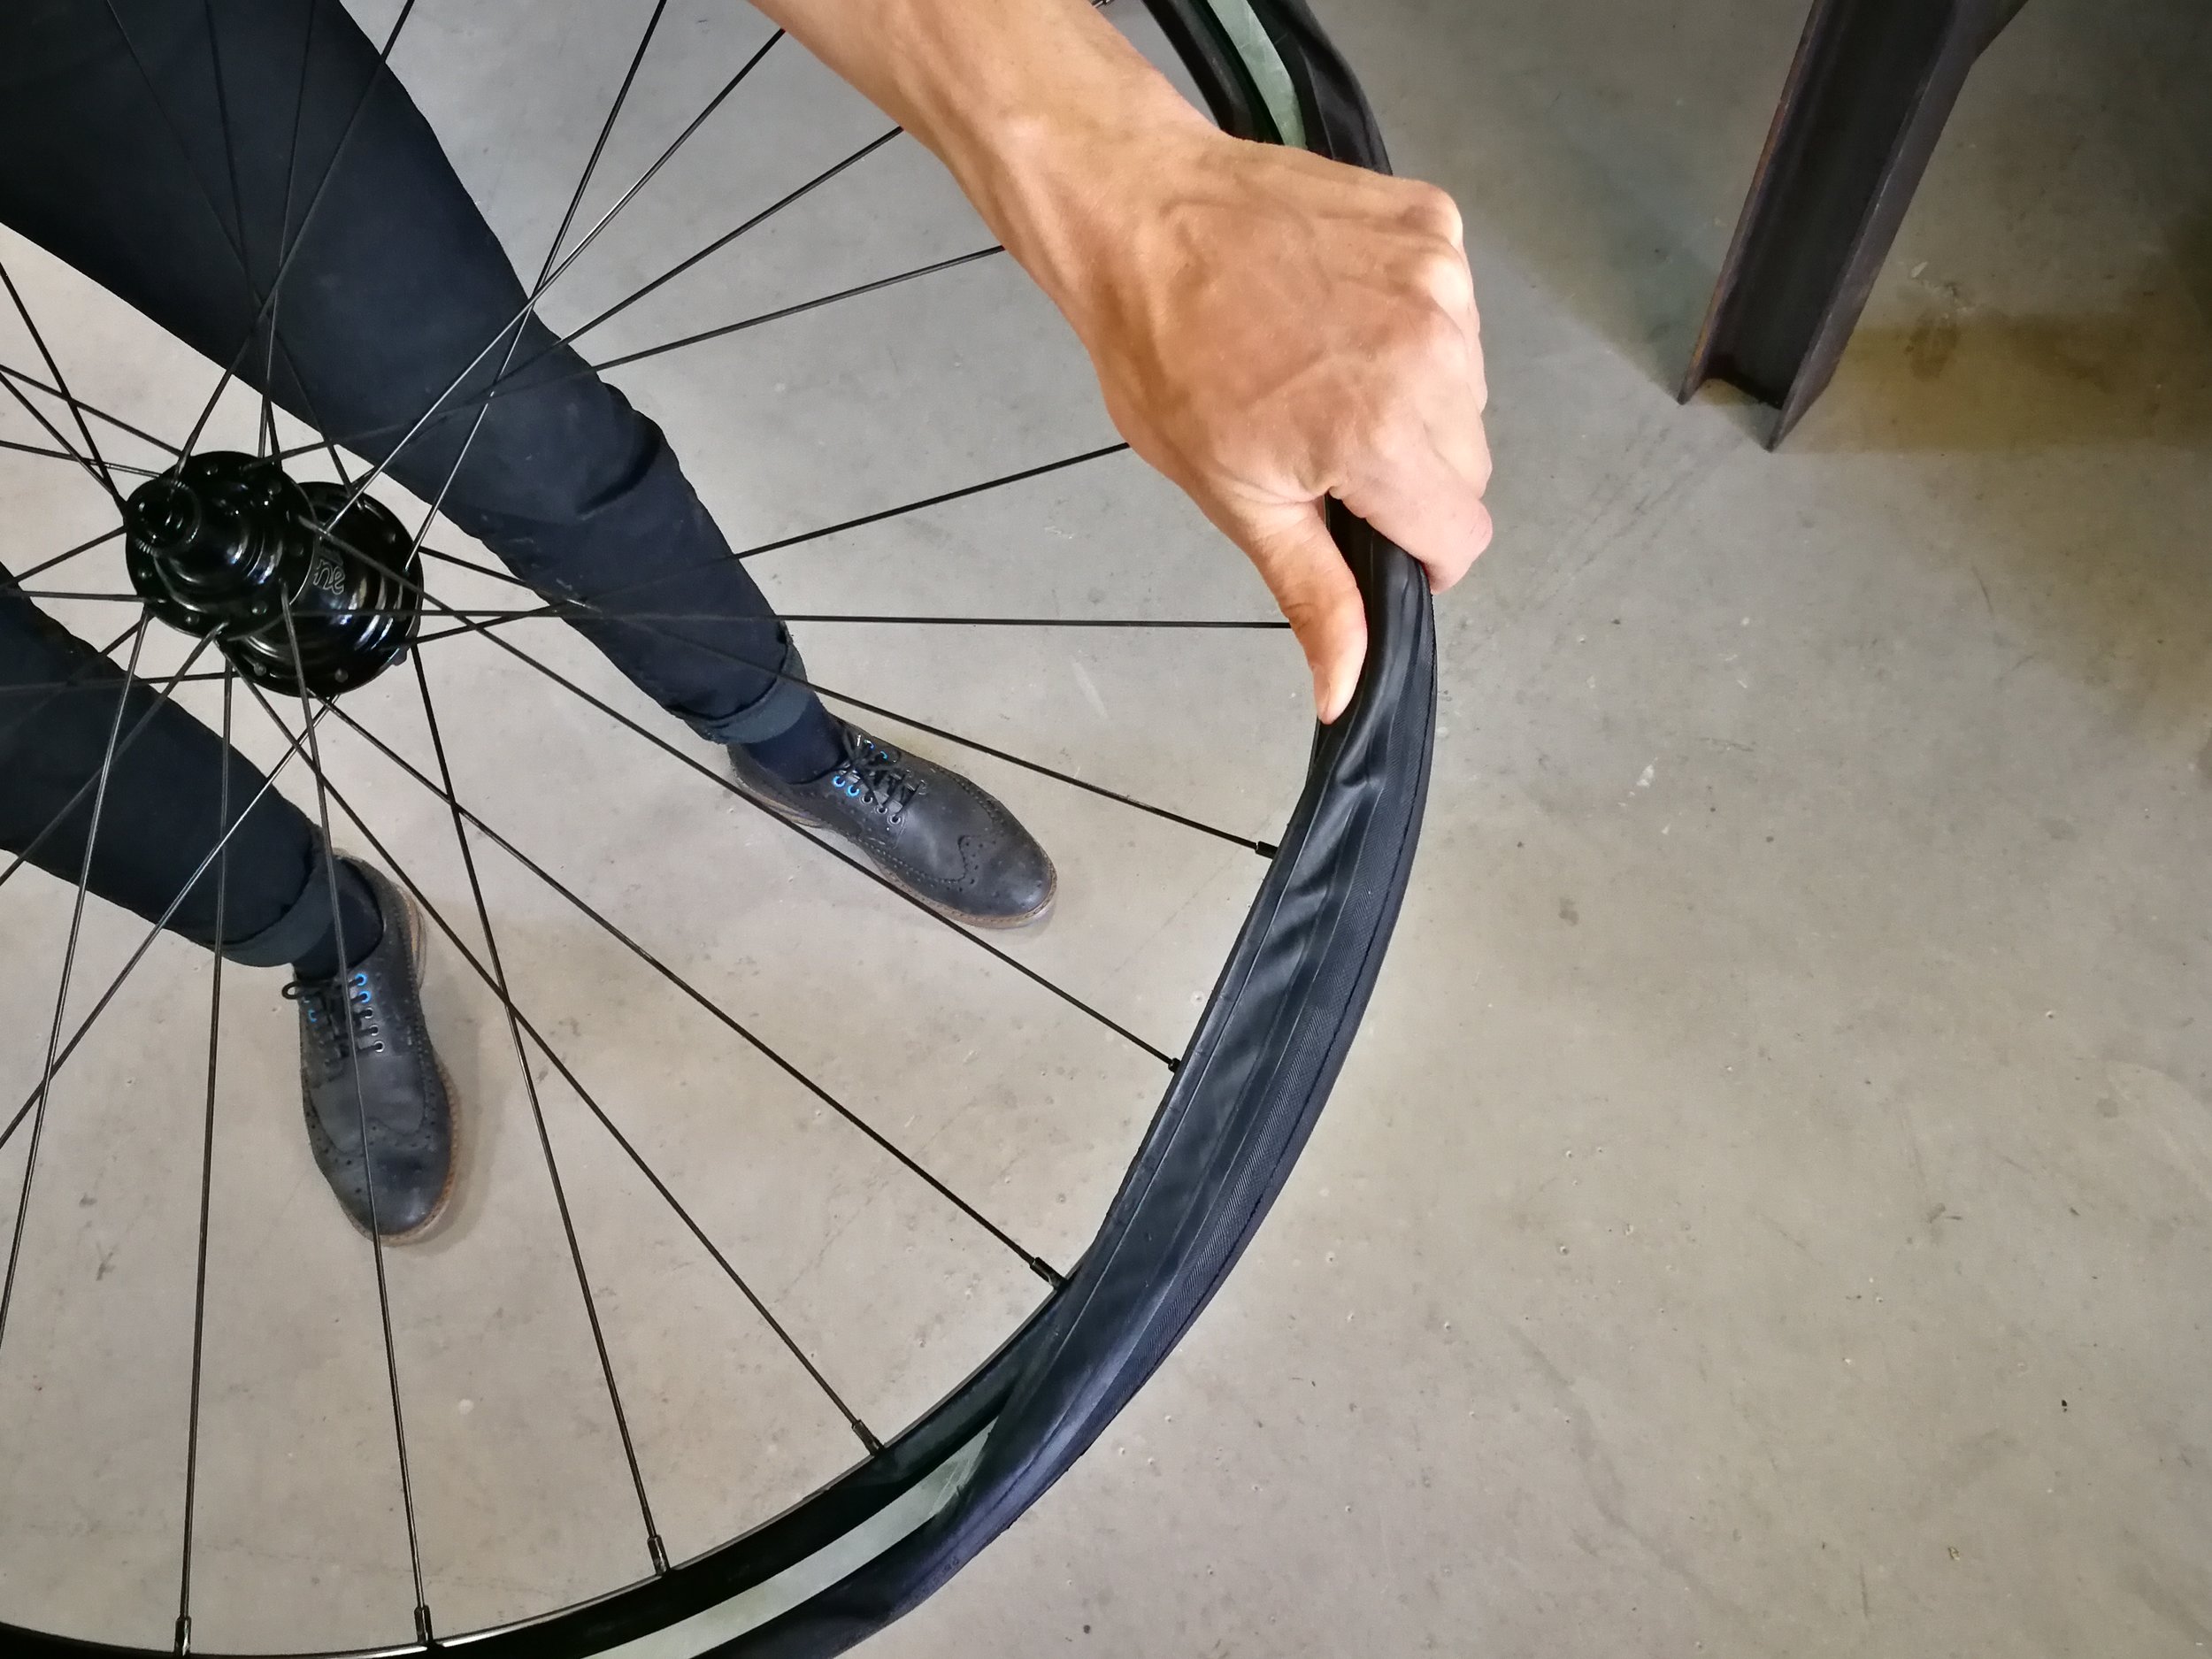
Holding tension on the bead with one hand while the other works the bead into the valley.

The "other" hand.
Once you are sure the second bead is entirely in the valley, except where it's not on the rim of course, you can begin working the last little bit of tire onto the rim. This may still be quite difficult with a new tire or certain combinations of tires... I'm looking at you Continental.

Don't be afraid to use tire levers if it's just too tight, but first do your best to use your hands, but in both cases make sure tension remains on the bead at all times, otherwise you have to redo the last step to get that second bead back into the valley. When using your hands, use your entire hand and palm in a sort of "rolling" movement. I've got countless years of wrenching in my hands and I still can't get some tires mounted by just using my thumbs!
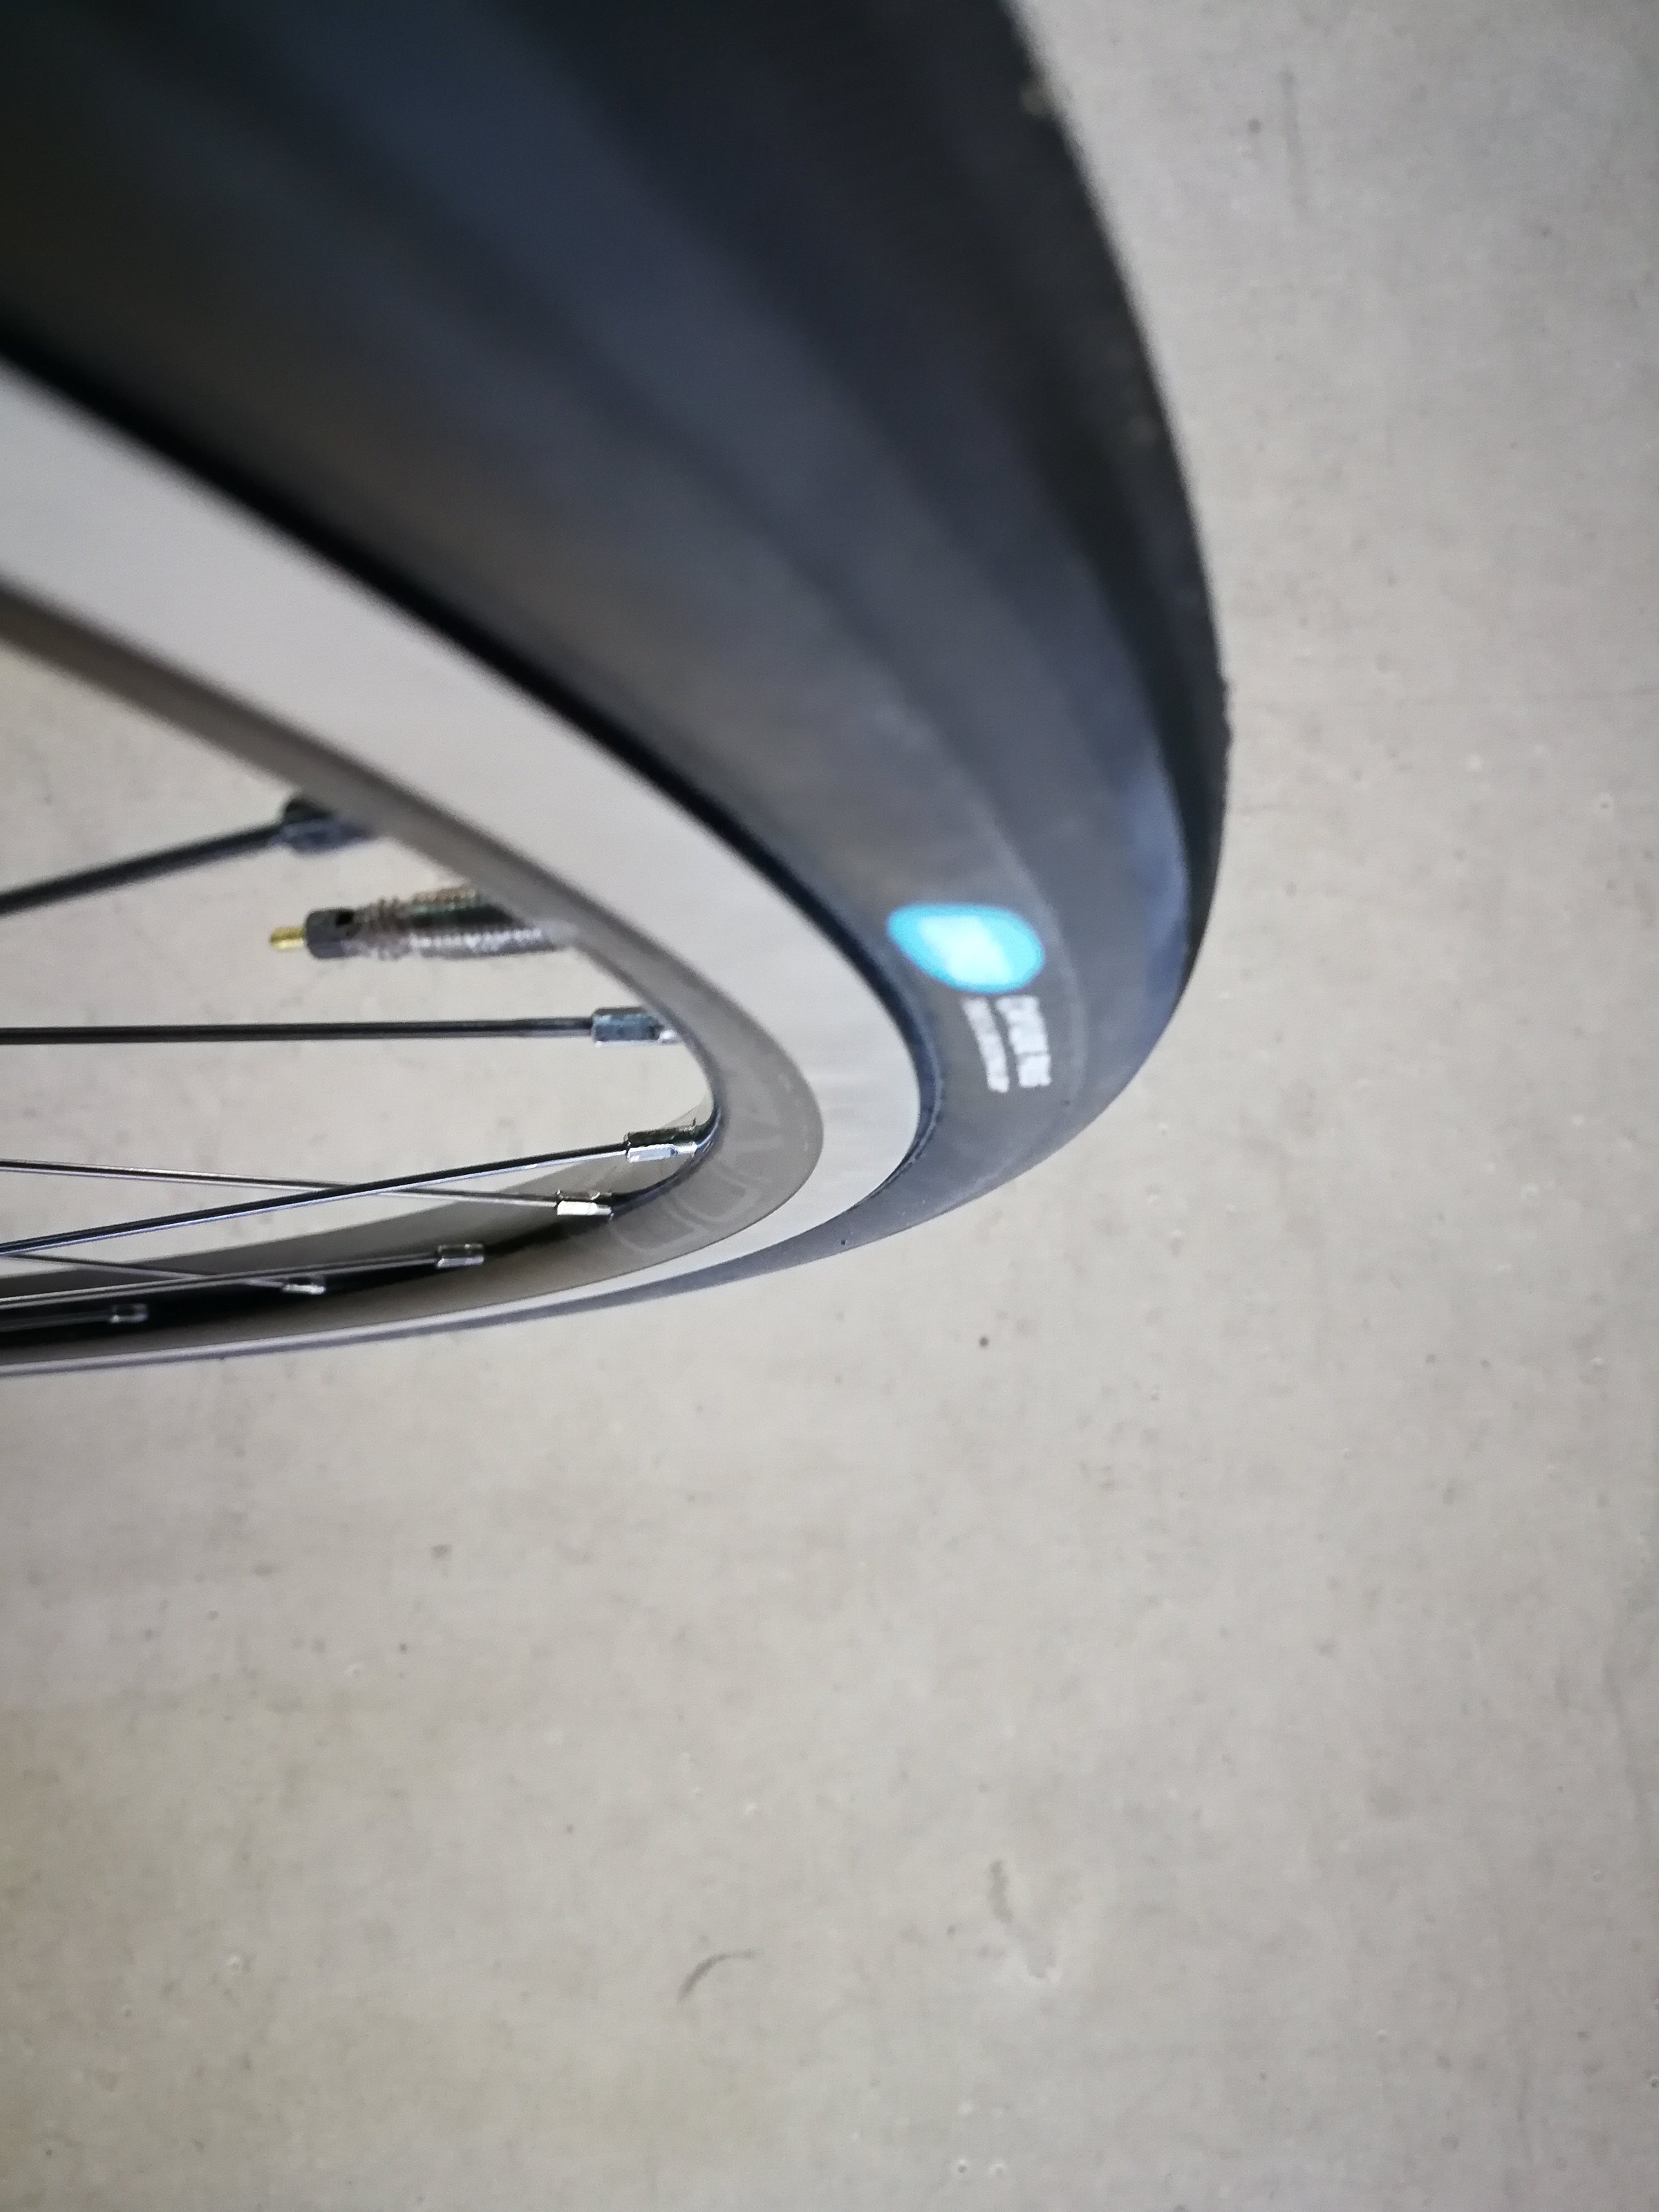
All done? Now, pump it up, listen for the "popping" of the beads into place, and then check that the bead is evenly seated by checking the side of tire or by giving it a spin! Not quite seated, try a little extra pressure (do not go over recommended pressure), or by using your hands to raise the tire into position. Still no dice? Try a lubricant such as bike cleaning solution or window cleaner, never a petroleum based product.